

How to Upgrade Windows 10 to Windows11 A Step-by-Step Guide.
How to Upgrade Windows 10 to Windows11 A Step-by-Step Guide.
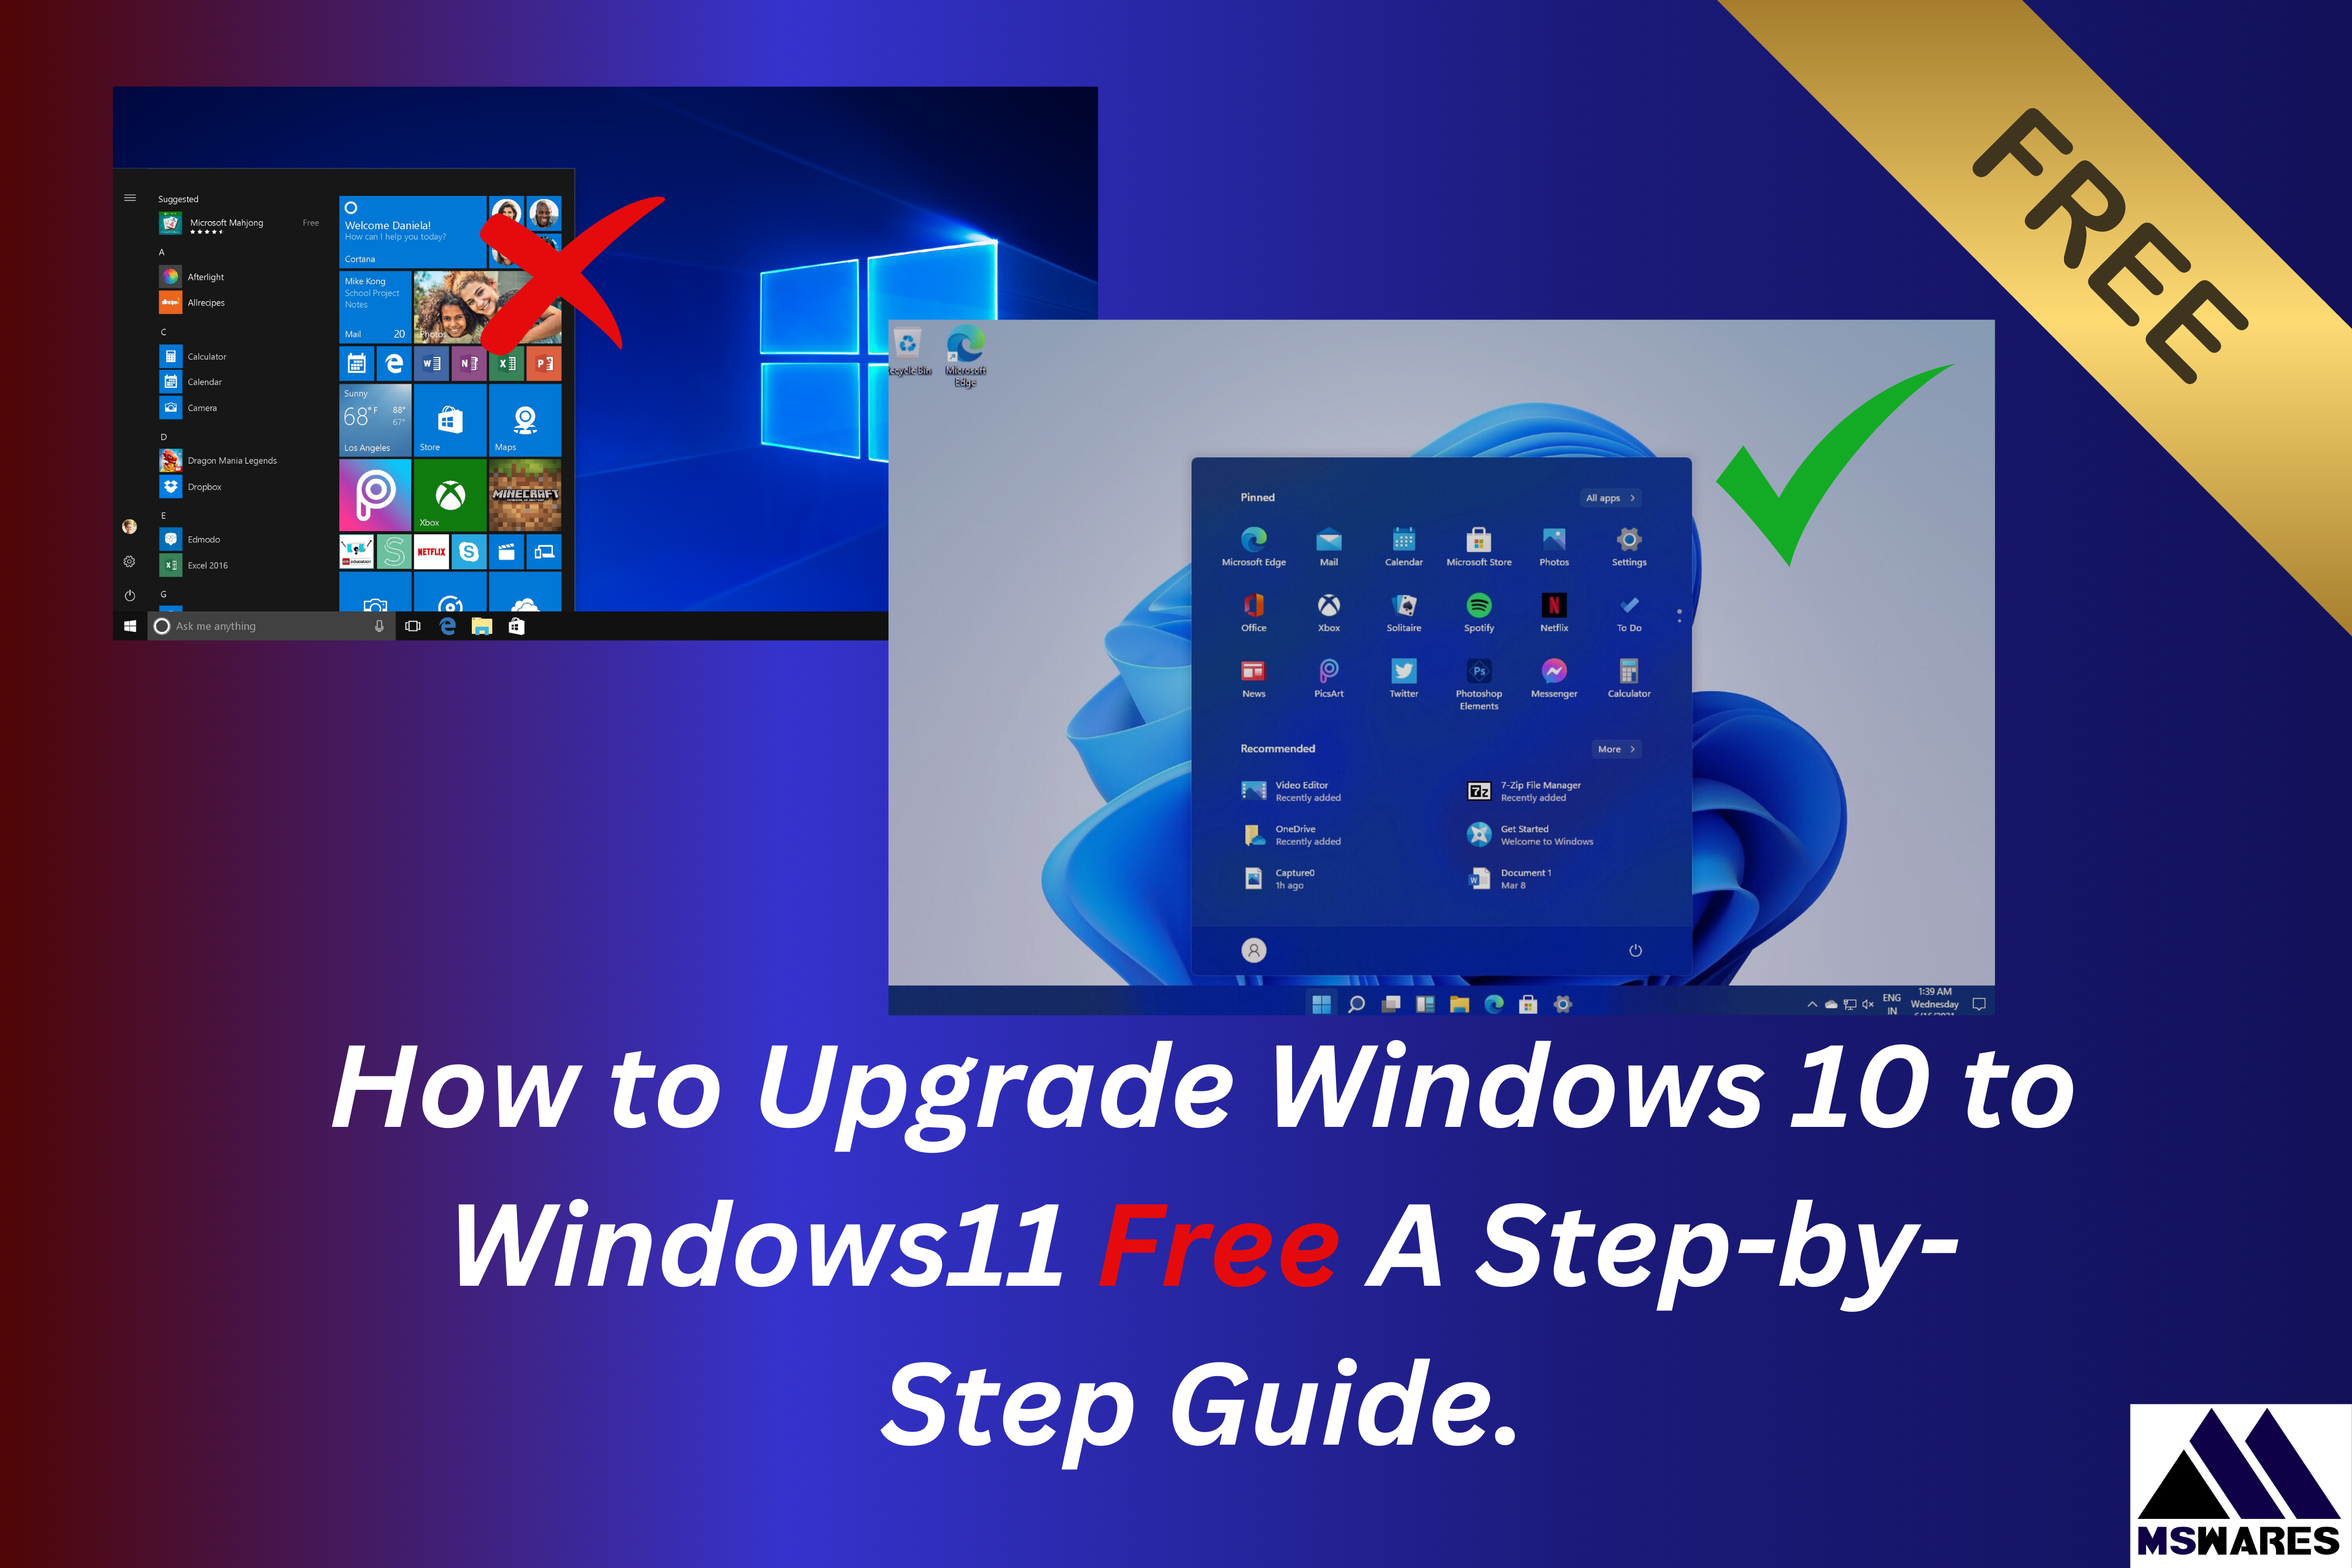
Upgrading your operating system can seem like a daunting task, but with “Windows 11”, Microsoft has made the process straightforward and user-friendly. If you’re currently using “Windows 10“, upgrading to Windows 11 brings a sleek new design, enhanced performance, and a host of new features aimed at improving productivity and security. In this blog post, we’ll walk you through how to upgrade from Windows 10 to Windows 11 with ease.
“Why Upgrade to Windows 11? / How to Upgrade Windows 10 to Windows11”
Before we dive into the steps, let’s briefly explore why you should consider upgrading to “Windows 11“:
1. New User Interface:
Windows 11 features a centered Start menu, rounded corners, and new animations that make it visually appealing.
2. Improved Performance:
Optimized for speed, responsiveness, and efficiency.
3. Virtual Desktops:
Enhanced multitasking features with snap layouts and snap groups to organize your workspace.
4. Better Gaming Experience:
Direct Storage and Auto HDR improve gaming performance and visual fidelity.
5. Security Enhancements:
Windows 11 comes with new security features, including hardware-based protections that make your system more secure.
Now that you know why upgrading is worthwhile, let’s get started!

Step 1: Check System Requirements
Before upgrading, ensure your computer meets the “Minimum System Requirements” for Windows 11. These include:
Processor: 1 GHz or faster with at least two cores on a compatible 64-bit processor or SoC.
RAM: 4 GB or more.
Storage: 64 GB or more of available storage.
System Firmware: UEFI, Secure Boot capable.
TPM: Trusted Platform Module (TPM) version 2.0.
Graphics Card: DirectX 12 compatible graphics / WDDM 2.x driver.
Display: 9” or larger display with HD resolution (720p).
To quickly check your PC’s compatibility, you can use the “PC Health Check” tool provided by Microsoft.
1. “Download the PC Health Check tool” from the official Microsoft website.
2. “Run the tool”, and it will tell you if your PC is eligible for the upgrade.
If your PC passes the compatibility check, you’re good to go! If not, you may need to upgrade certain hardware components like the TPM or processor.
“Step 2: Backup Your Data”
Before performing any upgrade, “backing up your data” is crucial. Although upgrading to Windows 11 shouldn’t erase your files, it’s always safer to have a backup just in case.
“Use OneDrive” to store your files in the cloud.
Alternatively, “copy important files” to an external hard drive or USB drive
Step 3: Check for Updates on Windows 10
To ensure the upgrade process goes smoothly, your current version of Windows 10 should be fully updated. Here’s how to check for updates:
1. Click on the “Start menu” and open “Settings”.
2. Go to “Update & Security” and select “Windows Update”.
3. Click on “Check for updates”. If there are any pending updates, install them first.
Once everything is up to date, you can proceed with the upgrade.

Step 4: Upgrade to Windows 11 via Windows Update
Once your PC is ready, upgrading to Windows 11 can be done directly through “Windows Update”.
1. Open the “Settings” app by pressing “Windows + I”.
2. Go to “Update & Security’ > “Windows Update”.
3. If your PC is eligible for Windows 11, you’ll see a message saying, “Upgrade to Windows 11 is ready”. Click on the “Download and Install” button.
4. The upgrade process will begin. This might take some time depending on your internet speed and hardware. Your PC may restart multiple times during the process.
Once the upgrade is complete, you’ll be greeted with the new “Windows 11” interface!
Step 5: Post-Upgrade Tasks
After upgrading, you might want to go through a few steps to ensure everything is set up correctly:
Check for Updates: Go to “Settings > Update & Security > Windows Update” and ensure there are no additional updates waiting to be installed. Reinstall Drivers: Sometimes, you may need to update or reinstall certain drivers for peripherals like printers, scanners, or graphic cards to work properly. Restore Backup: If you backed up your files, now’s the time to restore them if needed.
Step 6: Explore New Features in Windows 11
Now that you’ve successfully upgraded, it’s time to explore the new features in “Windows 11”:
Start Menu: It’s now centered and more streamlined, with quick access to apps, documents, and settings. Snap Layouts and Snap Groups: These features allow you to easily organize your open windows and create custom desktop layouts. Widgets: A new feature for quick access to news, weather, calendar, and other information. Microsoft Teams Integration: Microsoft Teams is now integrated directly into Windows 11, making it easy to connect with friends, family, or coworkers.
Alternative: Manual Installation (ISO File)
If Windows Update doesn’t show the upgrade option or you prefer to install manually, you can download the “Windows 11 ISO file” from the official Microsoft website and create a bootable USB to install it. Here’s how:
1. Go to the “Windows 11 download page” on Microsoft’s website.
2. Select “Download now” under the “Create Windows 11 Installation Media” section.
3. Follow the on-screen instructions to create a bootable USB or DVD.
4. Once done, restart your computer and boot from the USB or DVD.
5. Follow the installation prompts to upgrade to Windows 11.
Conclusion:
Upgrading from “Windows 10 to Windows 11” is a straightforward process that can significantly enhance your computing experience. With a more modern interface, improved security, and powerful new features, Windows 11 is a worthwhile upgrade. Just make sure your PC meets the system requirements, back up your data, and follow the steps outlined above. Happy upgrading!